How to Paint a Climbing Wall
How to Paint a Climbing Wall
There are two main categories of climbing wall panels: the commercial panels commonly found in commercial climbing gyms, and the DIY panels. This How-To is intended for DIY enthusiasts.
Commercial climbing wall panels are painted with expensive epoxy paints. It cures very hard, and many vendors coat each panel up to 6 times. You get the best results when you do multiple, thin layers. So, buying panels from most of these vendors gets you a very durable product. They are a challenge to buy in turn-around time and are expensive for the home climbing wall. The following is the most durable and cost-effective way to paint a climbing wall panel.
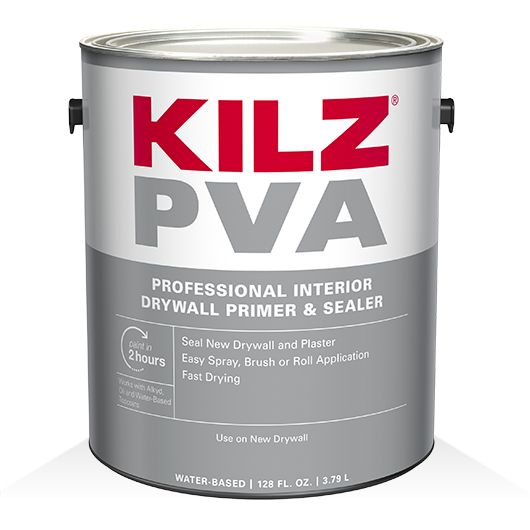
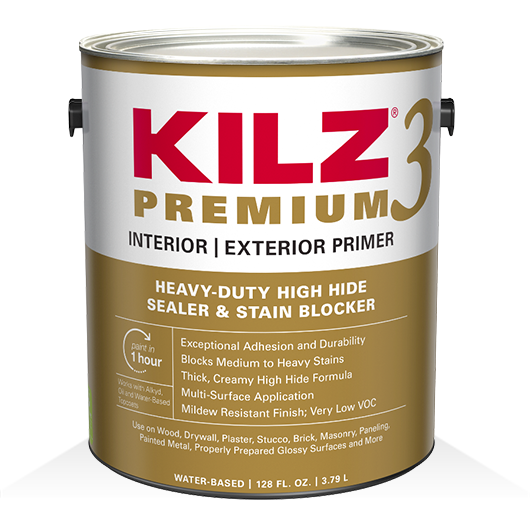
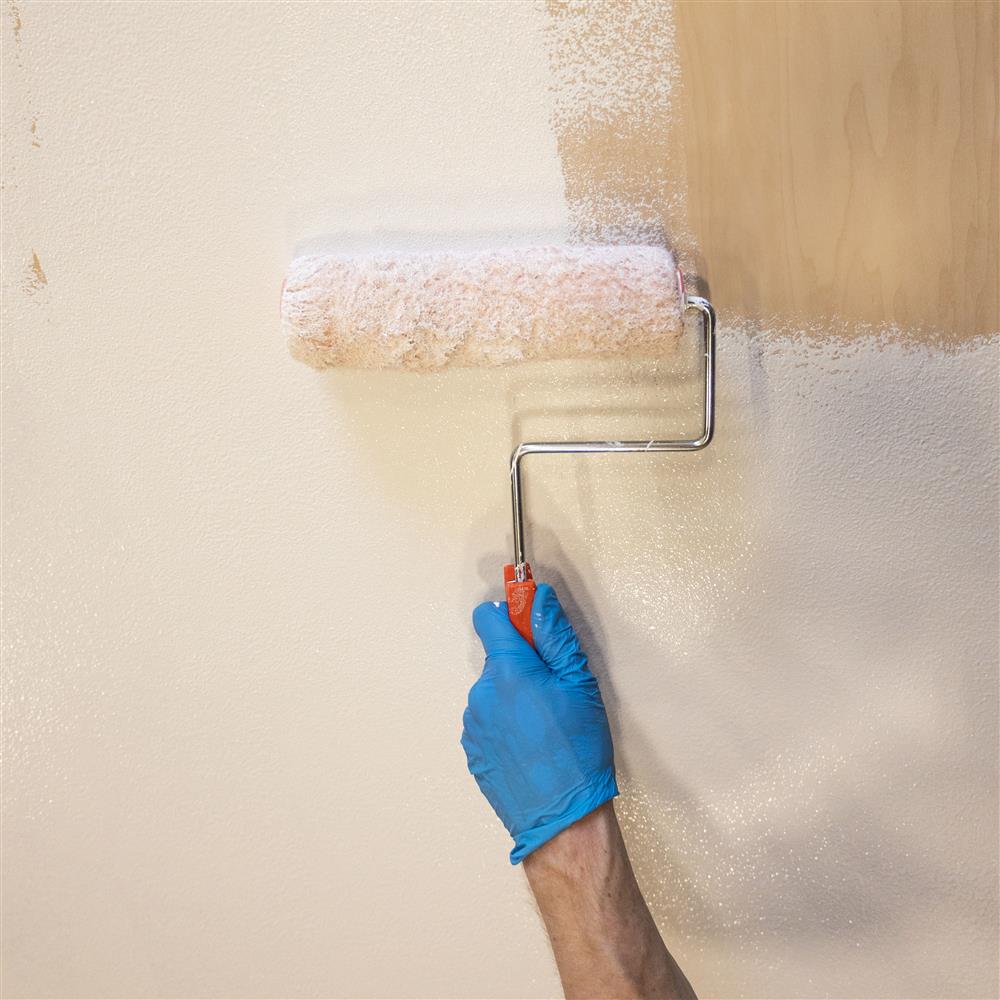
Step #1: Primer
While the paint is meant to deliver color, the primer prepares the surface for painting. Priming helps solve a wide range of problems, including very porous surfaces (such as new plywood), stains, unwanted odors, uneven surfaces, texture differences, and adhesion problems (where paint has difficulty sticking to the surface).
If not adequately sealed, porous surfaces like plywood can absorb a significant amount of paint, costing you valuable time, money, and paint.
Optional Step: Paint with Texture (100% Acrylic)
To Texture or Not to Texture?
Texture painting your panels is recommended, if possible, depending on the types of holds you install. The main reason is that it discourages a climbing hold from spinning. Many of our holds, however, are designed with this potential issue in mind, and can be installed with a spinner screw to prevent any spinning. Paint that offers texture is a great option; that way, you don't need to add anything to your paint. Floor paint is the best option, as it is formulated to withstand foot traffic or, in our case, the pressure of climbing shoes. A flat or satin sheen is best for wall paint.
We do not recommend using sand for texture. As soon as sand is mixed into your paint, it settles to the bottom of the tray, making it difficult to get an even texture. The best additives are made from lightweight products like crushed walnut shells or glass microspheres. Here, you can find Anti-Skid Floor Additives.
Now, let's dive into the painting. But wait! You might ask, "Do I drill out my T-nuts before this?" The answer is no. You will want a smooth, flat surface to paint on, and the T-nuts to be free of anything, especially paint.
Wall texture is water-based paint with some inert material added to it. Sand, rubber, dicaperl (microbeads), and others are all used. The heavier the material, the quicker it will settle in your paint tray. Sand is the heaviest and settles within minutes, and Shark grip is the lightest, which stays mixed reasonably well in the paint tray. There will be some exceptions to this, and many of the other products on the market are worthy. For the "do-it-yourselfer", go for the options at the hardware stores. Most carry a product called Shark Grip. They can mix it into any color of paint. Some brands already have it in them. If you go with floor paint, find a product called Floortex. All of these products are for tennis courts or anti-skid paint. When rolling these paints out, it is helpful to have a painting helper who spreads out the grit with a 4-inch brush in various directions. If you don't do this, you will see roller marks on the panel.
Here, you can find Anti-Skid Floor Additives.
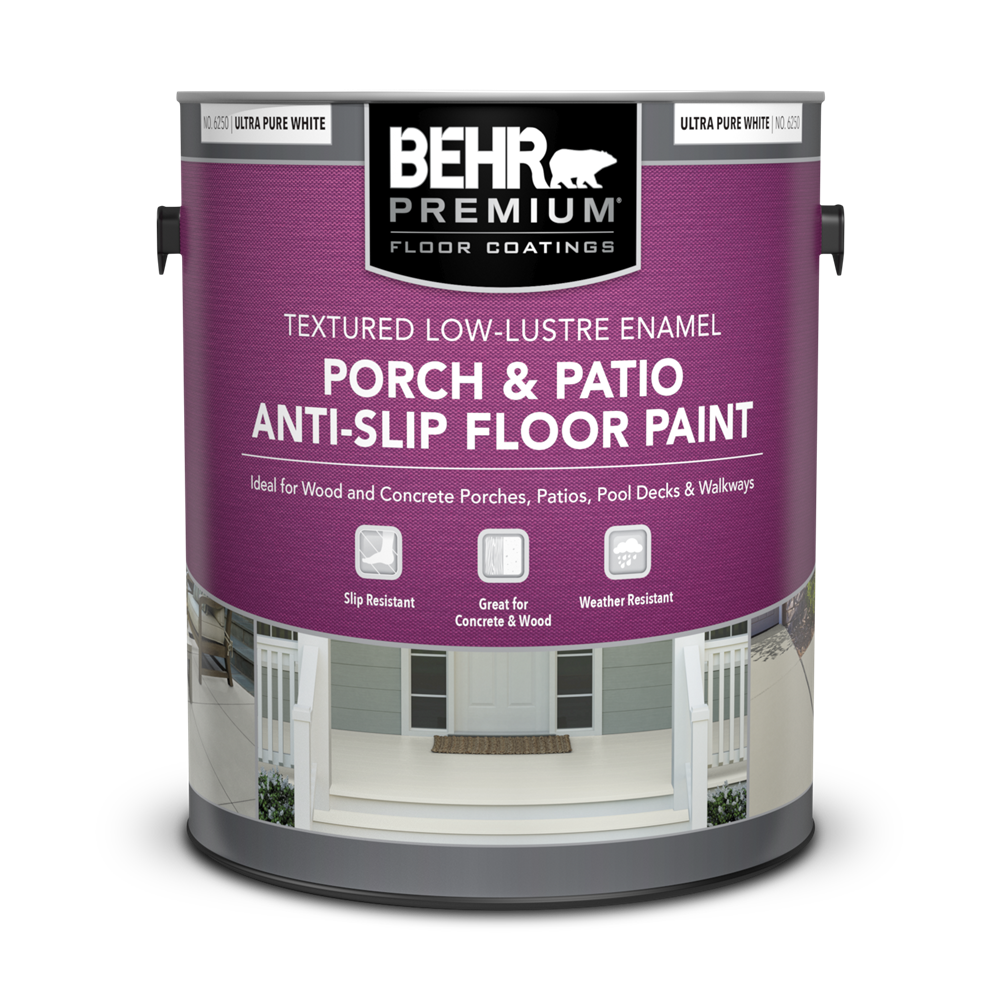
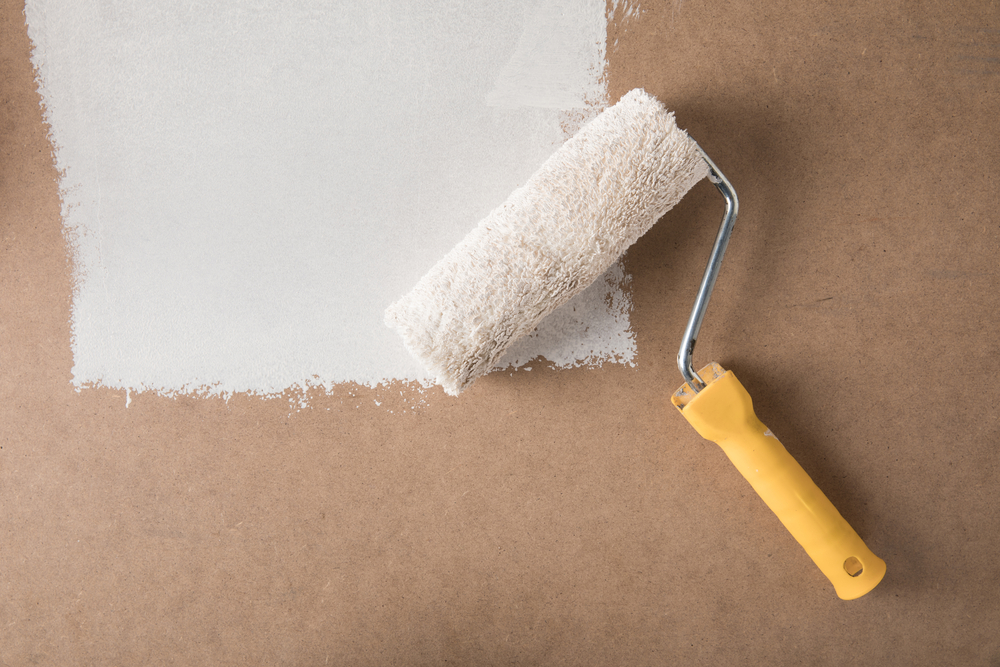
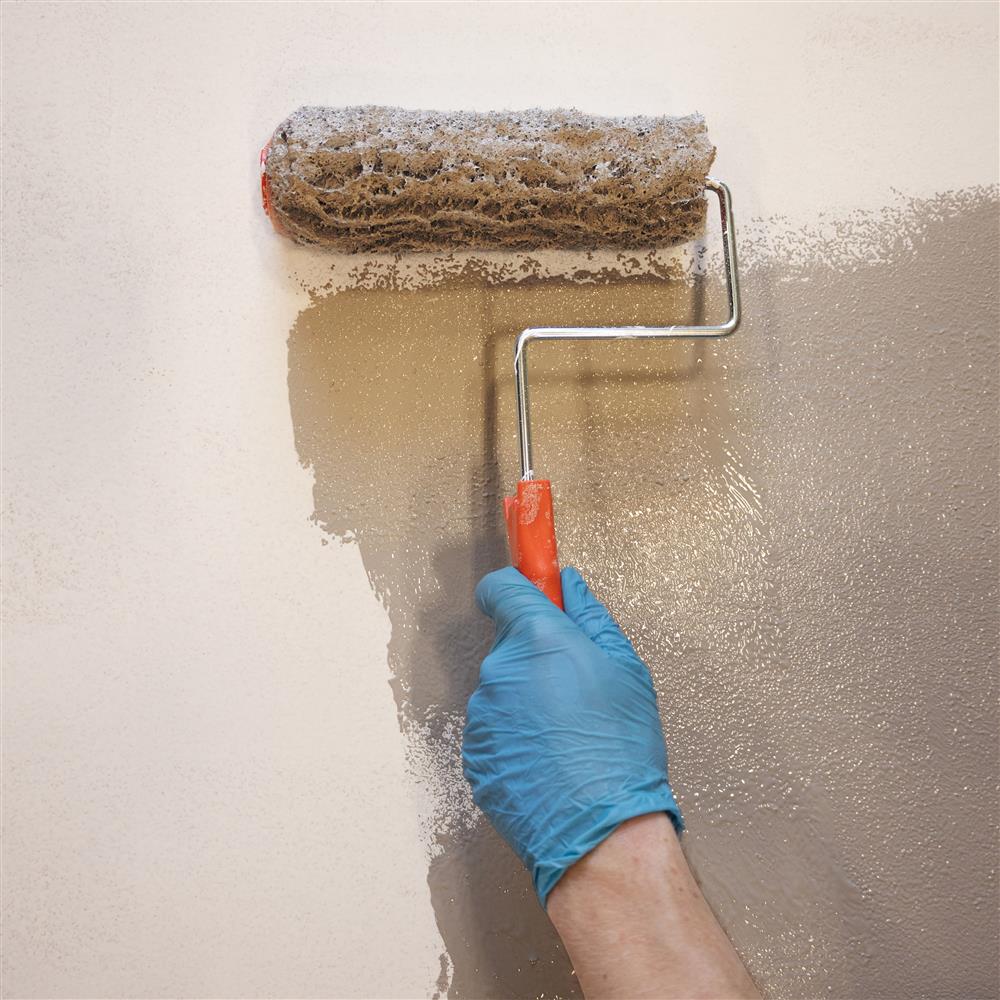
Step #2: Start Painting Layers
Once your panel is clean, prepped, and primed, apply the Porch and Patio Floor Paint. Stir the paint before applying it. Apply a thin, even coat using a 3/8" nap roller, nylon-polyester brush, or airless sprayer.
TIP: The spread rate will vary depending on the surface's porosity and texture. Use the appropriate spread rate per gallon when air and surface temperatures are between 50 and 90 degrees F.
Do not thin paint if using a roller and brush.
TIP: If you are using more than one can, you can ensure color uniformity by intermixing all cans.
Step #3: Let the Paint Dry
Let the coating dry. The layer will dry to the touch in 1 hour, but allow at least 4 to 6 hours before your second and third coats. Professionally painted climbing wall panels are sprayed with up to 6 coats to get texture uniformity.
TIP: Certain colors may need more than one coat to achieve complete hide and coverage.
Step # 4: Curing Time
Make sure that the surface is cured before use. Allow 72 hours for everyday use.
TIP: Premature heavy traffic will cause paint failure, requiring spot re-coating.
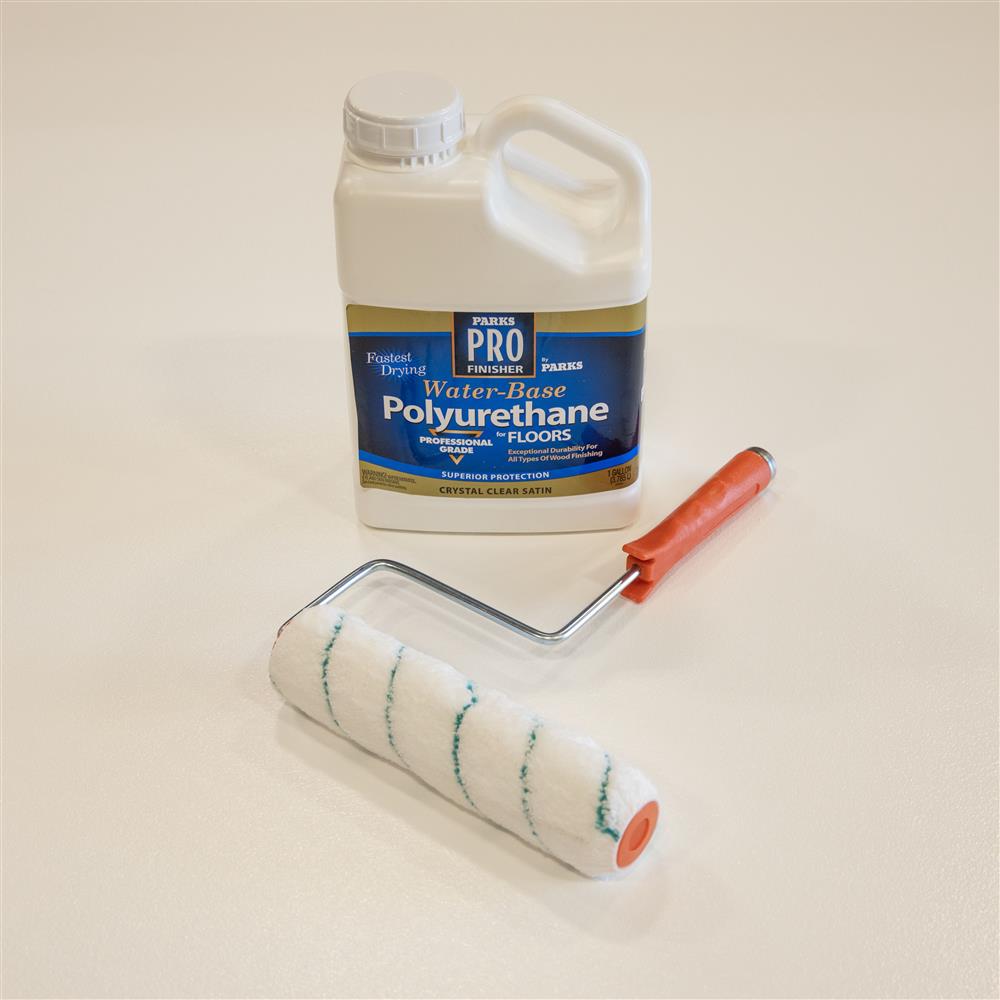
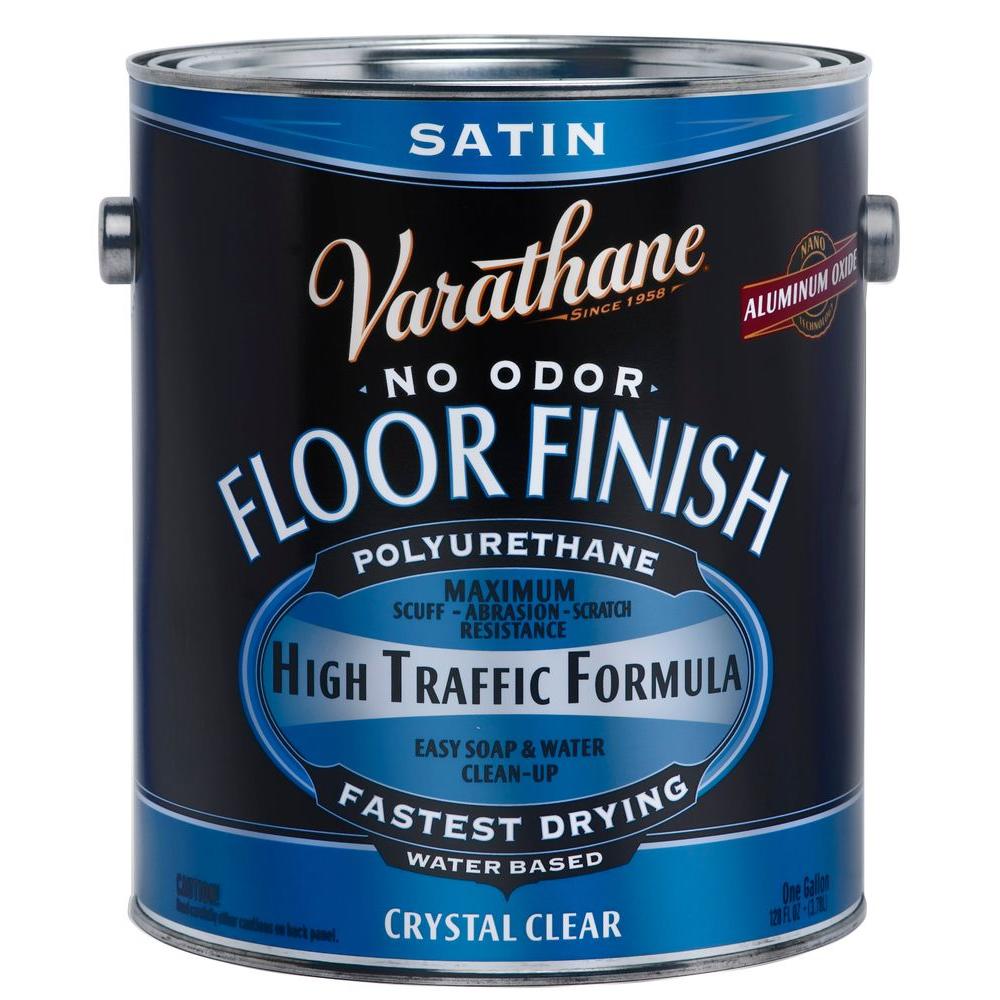
Step #5: Seal with Satin Varathane Floor Finish Water-Based
Almost every paint used for climbing walls will remain tacky for days or even weeks. The Epoxy paint that many commercial gyms and panels use is the exception. That's bad because the pressure of the climbing holds on the wall can make the holds stick to the wall. To avoid this problem, use Varathane Clear Satin Water-Based Floor Polyurethane High Traffic Formula.
Stir thoroughly before and during use when applying. To prevent bubbles in the finish, DO NOT SHAKE. Apply using a good-quality synthetic bristle brush or a low-nap roller. Allow the finish to dry for a minimum of 2 hours and then re-coat. Varathane recommends a minimum of 3 coats of water-based polyurethane, as it coats in thinner but harder layers than an oil-based poly. Water-based polyurethane dries quickly, and up to 4 coats can be applied in one day.
Expert Tips For Outdoor Climbing Wall Panels
Wood absorbs water, so it is best to keep rain and snow off of any outdoor climbing wall. The best option is to build a roof over the climbing wall. It may be a little more expensive, but in the long run, it will help protect the holds.
These tips are for the exposed panel.
1. Prime the front, back, and sides of the panel. Painting all sides helps, too.
2. Once you have painted and sealed all the panels with a floor finish, it's time to drill out the T-nuts. Once all of your T-nut holes are drilled, you can take the time to seal all the holes with the floor finish. We roll the floor finish sealer, then take a small brush and seal the holes.
55 East 600 South, Provo, Utah 84606
Tel. 801-404-0280
[email protected]