
The thrill of topping out on a challenging boulder or nailing a perfect sequence is unmatched, but what if you could bring that excitement into your home? At-home indoor climbing setups are on the rise because they’re convenient and customizable.
Climbers can practice their skills any time they want! Prepare for your first at-home indoor climbing session as this guide walks you through everything you need to know.
Set Clear Goals for Your At-Home Climbing Journey
Before you start drilling holes into your walls, identify your goals. Are you setting up a wall for fitness, pure fun, or a way to strengthen your climbing skills? Establishing a purpose will help you design the best setup that suits your goals.
Beginners should set realistic expectations—this isn’t about building a professional-grade climbing gym on day one. Instead, think of your home wall as a tool to build foundational strength and skills while keeping the experience enjoyable.
Find the Perfect Space in Your Home
Location matters when building a climbing wall. Think about where you can dedicate wall space without disrupting other aspects of your home. Garages, basements, and rooms with high ceilings are the top contenders for installing a climbing wall.
Consider key factors like the height of the wall, structural support, and floor area for crash pads. A solid wall—like concrete or wood-supported drywall—is crucial for stability, and clear access to the space will make maintenance—and climbing—much easier than in a cramped area.
If you plan to place your indoor climbing wall in a space like a den or bedroom, consider rearranging any furniture. It’s important to give yourself enough room for a clear landing.

Choose the Right Wall Design for Your Setup
The design of your climbing wall plays a huge role in shaping your experience. Vertical walls are great for beginners because they’re an approachable way to practice. Overhangs provide greater challenges and opportunities to build strength, making them a great choice for advanced climbers. Adjustable walls allow you to modify angles and difficulty levels as your skills improve.
Your choice will largely depend on your home’s available space, your budget, and your climbing goals. Overhangs require more structural support, while adjustable walls provide more wiggle room for what you want to add to your wall and how you wish to spend your time climbing.
Necessary Supplies To Build a Climbing Wall
Once you’ve decided on a design, it’s time to gather materials and tools. The foundation of any great climbing wall starts with high-quality plywood, typically 3/4-inch thick for stability.
T-nuts and bolts anchor holds securely. You’ll also need a drill, saw, and measuring tape for the assembly process. Hardware stores and specialty climbing shops are great places to source these items.
As an alternative, consider buying bolt-on climbing holds from Atomik Climbing Holds for easy installation and rearrangement in future designs. Make sure to take accurate measurements so all the pieces fit your space before starting the build.
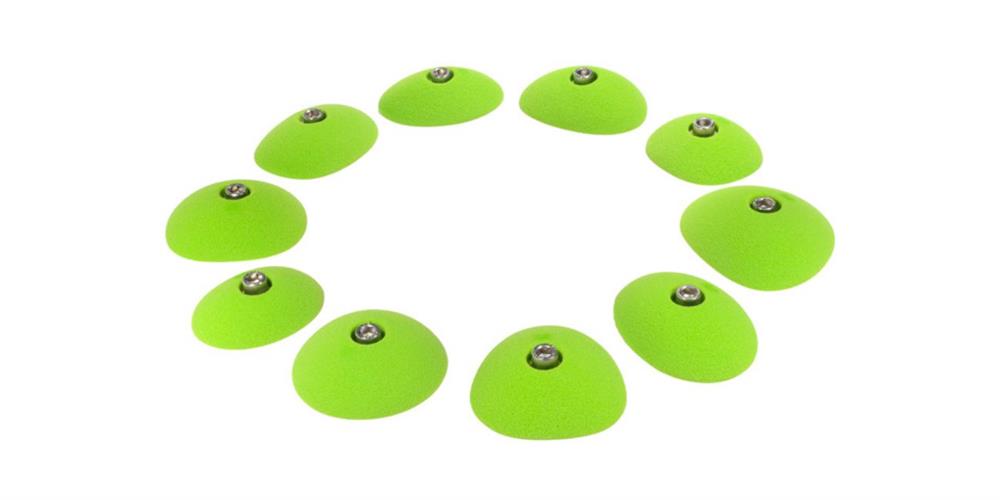
Select and Arrange the Climbing Holds
Climbing holds come in many shapes and sizes. Jugs are beginner-friendly because they offer large, easy-to-grip surfaces. Crimps challenge climbers’ finger strength. Slopers demand precision and balance, and pinches test grip endurance.
Rock climbing footholds are a great way to balance out using your arms and legs. This will help climbers gain a full-body workout while improving coordination.
For your first setup, a mix of these hold types will provide a great variety and help you develop well-rounded skills. Arrange the holds to create routes that suit your current ability while leaving room for experimentation as you improve.
Essential Safety Gear
Safety should always come first when it comes to climbing. The essentials include:
- high-quality crash pads to cushion falls and reduce the risk of injuries,
- climbing shoes for added grip and stability,
- and chalk to minimize hand sweat and maintain a firm grip on holds.
Regularly inspect your gear to ensure it’s in good condition—worn-out shoes or weakened crash pads are hazards you don’t want to encounter.
Safe Practices When Climbing at Home Alone
Climbing at home commonly means climbing alone, so extra precautions are necessary. Position your crash pads carefully so every possible fall zone remains cushioned. Make sure the pads completely cover the landing area.
Spotting—a partner’s assistance to guide a fall—is ideal, but if you’re climbing solo, stick to routes within your comfort zone. Know your limits and avoid risky moves that could lead to injury.
The Importance of a Pre-Climb Warm-Up
Jumping straight onto the wall might be tempting, but skipping a proper warm-up is a mistake. Warm-ups help prepare your muscles for physical activity, increase flexibility, and reduce the likelihood of injury.
Stretches such as arm swings, wrist rotations, and hip openers are particularly effective. Once your joints feel loose, try a few low-intensity moves on the wall to ease into the session.
Master Fundamental Climbing Techniques
A solid grasp of climbing basics is key to making your at-home sessions rewarding. Pay attention to your hand and foot placements, aiming to use the edges of your feet rather than the soles to minimize fatigue.
Foundational moves such as flagging, using your legs to maintain balance, edging, and placing the edge of your shoe on holds are great techniques to practice as a beginner. Focus on slow, deliberate movements to build muscle memory and establish fundamental skills.
Perfect Your Body Positioning
Efficient climbing relies on proper body positioning. Instead of relying solely on upper body strength, learn to “climb with your legs.” Push yourself upward using your legs while keeping your arms straight whenever possible to conserve energy.
Weight distribution is also vital. Keep your center of gravity close to the wall. This will maintain balance and reduce strain on the muscles.
Advance With a Balanced Progression Plan
Creating a structure to track your progress will keep you motivated and continuously improving. Start with small goals—like completing a specific route without falling—and gradually increase the difficulty.
Rotate the holds and experiment with new routes to keep climbing fresh and challenging. By consistently pushing yourself, you’ll notice improvements in strength and technique over time.
Care for Your Climbing Space
After each session, take a moment to clean and care for the climbing wall. Wipe down holds to remove chalk and dirt. Regular maintenance extends the life of your setup.
Store gear in a designated location to keep the climbing area tidy. This way, you’re always prepared for your next climbing adventure indoors.
Preparing for your first at-home indoor climbing session is an investment in your passion, fitness, and personal growth. Your climbing wall is a space to hone your skills, challenge yourself, and enjoy the thrill of climbing whenever you want. Now, all that’s left is to grab your gear, pick your first route, and start climbing!


Leave your comment