
Imagine you’re halfway up your home wall on a route you’ve climbed dozens of times. Nothing flashy—just a series of moves to keep your form sharp between gym visits. Then your foot slips. Or maybe your shoulder catches mid-move.
Either way, you’re headed down faster than you planned, and the pain that follows is more frustrating than alarming because this was supposed to be the safe setup. The controlled environment. The one place you weren’t expecting to get hurt.
Unfortunately, injuries aren’t uncommon, but they’re almost always preventable. Here’s how to prevent injury while indoor rock climbing at home with a few small shifts in habit and setup.
Watch Your Wall Environment
If your wall is squeezed into a garage, basement, or spare room, you’ve probably already played the layout game. But certain overlooked features can create hidden hazards. Low ceilings and tight corners limit your range of motion and increase the risk of awkward falls. Holds placed too close together or near angled transitions can force you into poor body positions, especially when fatigue sets in.
Matting is another area where shortcuts often backfire. It’s not enough to throw down one crash pad directly under the wall and call it good. You’ll want at least a six-foot buffer of padded flooring in every direction, including spots where a sideways fall could send you sprawling.
Before every session, do a quick scan for tools, storage bins, or laundry baskets parked too close to your base. Clutter causes more accidents than bad footwork.
Check Your Wall’s Holds
Just because a hold stayed put last month doesn’t mean it’s still safe today. Even light climbing applies rotational force to hardware, which can loosen bolts or shift holds over time. You don’t need a full inspection checklist, but make it a habit to do a quick pass every two weeks. A socket wrench and a keen eye go a long way toward injury prevention.
Keep an eye out for spinning holds, cracked textures, or missing washers. These issues tend to crop up faster on overhangs or volumes where holds see more torque.
Placement also matters. Avoid positioning holds that funnel you into awkward shoulder or wrist angles, especially if you’re setting problems yourself. A move that looks clever on the wall isn’t worth a strained rotator cuff.
Gear Up the Right Way
No one plans to climb in pajama pants, but plenty of people underestimate how clothing choices affect safety. Baggy shirts, loose sleeves, and joggers with open pockets can snag on holds mid-route, particularly in tight spaces. Stick to fitted, flexible clothing that moves with you and keeps your range of motion unrestricted.
Climbing barefoot might seem convenient on home walls, but it's rarely worth it. A good pair of climbing shoes helps you edge, smear, and toe-hook more confidently on textured walls where surface control is a concern.
Leave the rings, watches, and bracelets off, too. Accessories can trap chalk or dig into your skin when under pressure.
Warm Up With Purpose
Cold tendons are easy to overlook until they’re sprained or strained. A warm-up doesn’t need to be long, but it should be targeted. Spend five minutes jumping rope or doing light bodyweight squats to get your heart rate up. Then move into dynamic arm swings and shoulder rolls to loosen your upper body.
From there, give some attention to the parts of your body that climbers strain most: your fingers and wrists. Spend two minutes on wrist circles, then do light finger extensions and squeezes using a resistance band or hand exerciser. These smaller muscle groups cool down faster than major ones, which is why they’re more prone to injury when they’re unprepared for activity.
Start every session with this routine, and you’ll climb stronger—and longer—without unexpected downtime.
Don’t Skip Targeted Exercises
Climbing might feel like a full-body workout in itself, but it’s not enough on its own. The same muscles and joints take repeated stress, which is why injury prevention starts off the wall. Twice a week, carve out 20 minutes for strength and stability exercises that directly support your climbing.
Scapular pull-ups strengthen your shoulders and protect the rotator cuff. Single-leg step-downs build knee stability and help you develop better control during downclimbs and landings.
Finger extension exercises using rubber bands counterbalance the constant gripping motion of climbing, which can otherwise lead to tendonitis. These movements can make your climbing feel stronger and more controlled.
Understand Your Grip Types
There’s a fine line between strong fingers and sore tendons, and it often comes down to how you grip. Climbers tend to default to what feels most secure, but crimping every hold isn’t doing your joints any favors. Whenever possible, opt for open-hand grips, especially on jugs and flat edges. You might sacrifice a little control at first, but your tendons will thank you in the long run.
Grip variation matters most when you start integrating more complex shapes, such as slopers or rock-climbing pinch holds. Grips like these engage the entire hand, including the thumbs and wrists, which can be easily overstrained if you’re squeezing harder than necessary.
Focus on maintaining just enough pressure to stay in control. If you have to over-grip to remain on the wall, the hold might not be the problem. Your technique or route plan might need a second look.
Balance Your Training Volume
One of the biggest perks of climbing at home is that you can do it whenever you want. The biggest risk, however, is that you can do it whenever you want. Overtraining creeps in fast when you have 24/7 wall access, particularly if you’re motivated by a new project or an upcoming trip.
Hobbyist climbers should cap their climbing sessions at 60 minutes, three times per week. That gives you enough volume to improve without burning out your hands, forearms, or mental focus. Build in at least 48 hours between intense sessions, especially if you’re working on dynamic routes or high-resistance moves.
Tendons and pulleys need time to recover, and pushing through soreness can quickly turn into something more serious.
Your Wall, Your Rules (and Risks)
Home walls are great because you’re in charge. You get to choose the holds, the layout, the playlist, and how hard you want to go. But that also means you’re the only one setting the safety standards. No gym staff, no scheduled maintenance. Just you, and whatever habits you bring to the wall each session.
Knowing how to prevent injury while indoor rock climbing at home is all about climbing smarter with gear and routines that support you, route after route.
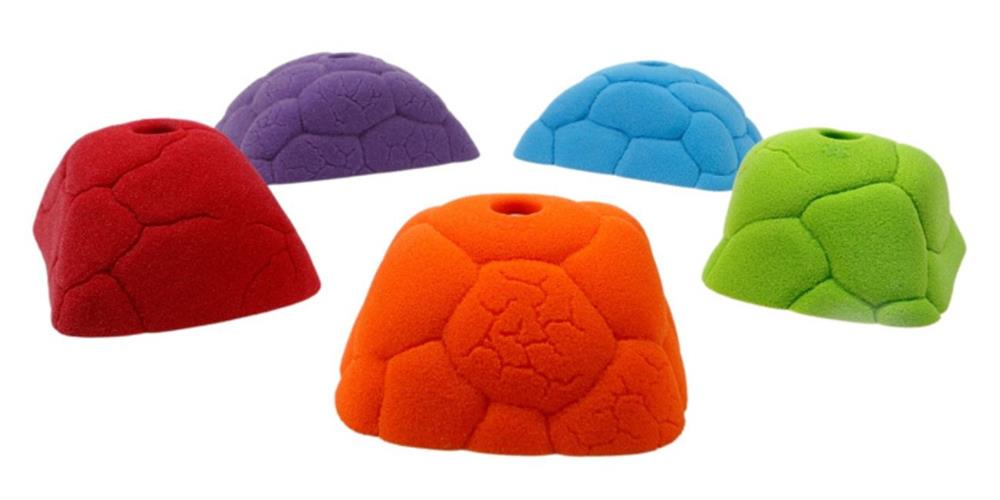
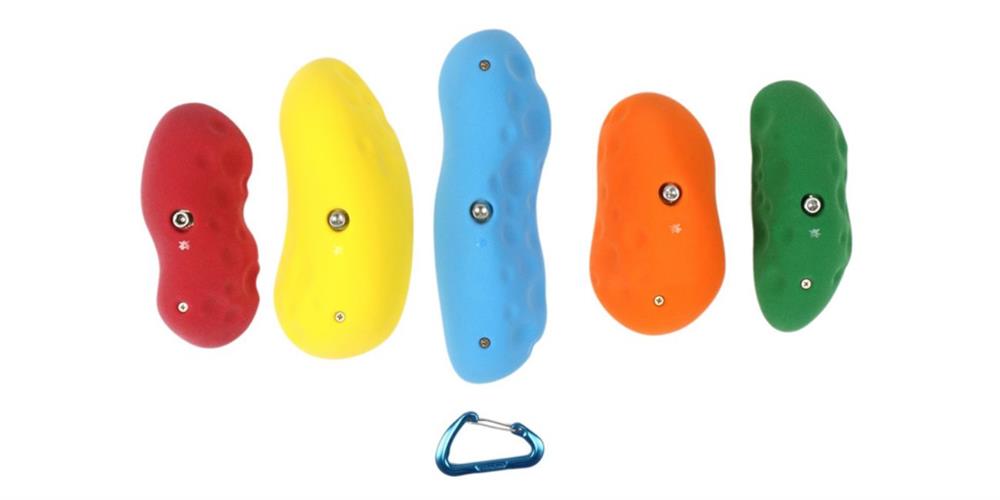
If you’re looking for climbing holds that work just as hard as you do, check out what we make at Atomik Climbing Holds. Our holds are molded from a polyurethane resin, which is completely inert and harmless to both people and pets. We source our raw materials in the United States, and we manufacture everything here, too.
When you’re building your wall, don’t settle for holds that weren’t built to last. Choose products made by climbers, for climbers—because your fingers, your routes, and your home wall deserve better.


Leave your comment