
There’s no shortage of reasons to build a climbing wall at home—convenience, customization, and creative freedom being just a few. But once the wall is up and ready, the next challenge is the routes themselves.
Designing a route that’s both fun and functional takes more than just bolting holds to the wall. It’s about intention—each climb should work toward a goal, whether that’s improving balance, refining footwork, or developing raw power. Let’s take a look at how to set up the perfect climbing route at home.
Balance Builder (Beginner)
This route focuses on building body awareness and confidence, which is perfect for those just getting started or easing back into climbing. Think of it as your climbing warm-up in wall form.
Use large or extra-large jugs for hands and generously sized edges for feet. On a vertical or slightly overhanging wall, keep handholds spaced about 8 to 10 inches apart, with footholds every 6 to 8 inches. The movement should feel steady and intuitive, more ladder than labyrinth. The goal is control, not challenge.
To encourage more intentional movement, rotate one or two holds 10 to 15 degrees. Slight tweaks change how the body engages with each move without overwhelming new climbers. It’s an easy way to add directional pulling without raising the difficulty too fast.
Footwork Focus (Beginner–Intermediate)
This next setup focuses on refining foot placement and improving lower body control without relying too heavily on upper body strength.
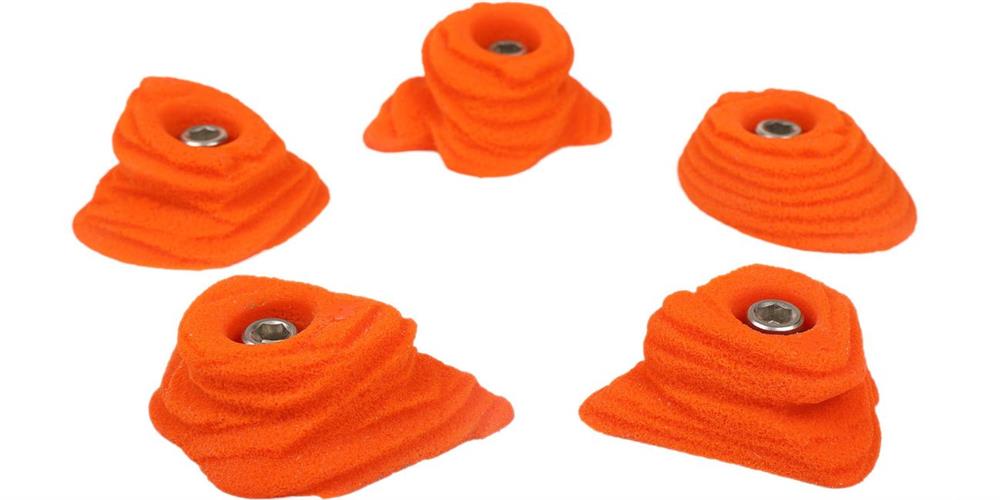
Build this route on a slab or vertical section of the wall. Swap out any existing handholds for smaller, neutral grips that support balance, not pulling. Then, make footwork the star by incorporating small rock climbing footholds spaced at varied intervals, some 12 inches apart, others even farther. Doing so creates opportunities for flagging, smearing, and toe adjustments.
Avoid hand matches and keep the moves slow and deliberate. A good rule of thumb is to include one forced foot switch every four moves. Climbers will need to think ahead, placing their feet with precision rather than scrambling to correct poor placement.
Reach and Flow (Intermediate)
At this level, climbers should be working on their ability to read routes, time dynamic movements, and coordinate longer reaches. This route pushes all three in a clean, fluid progression.
Use a 15-degree overhang to keep the movement engaging but not overwhelming. Set the holds to create a left-to-right or zigzag pattern across the wall, forcing lateral movement and body repositioning. Mix in spaced-out crimps, small pinches, and slopey footholds that require balance rather than brute force.
To elevate the challenge, include one crossover move about midway through and finish with a long reach into a hold that requires a controlled match. The goal is to move with purpose while staying light on your feet.
Power Problem (Intermediate–Advanced)
This route is designed to train explosive movement and upper body control. It’s short, intense, and meant to be climbed in under 30 seconds.
Start with two solid jugs low on the wall, positioned to encourage a tension-filled first move. Use a 20-degree or steeper overhang. From there, introduce compression moves—like opposing slopers or pinches—that require both pulling and squeezing. Keep footholds to a minimum, forcing climbers to engage their core and trust their hips.
End the route with a dynamic move to a large jug or open-handed sloper. The move should involve a coordinated push from the legs and a full lock-off from the arms. Think of it as a mini boulder problem packed into six to eight holds.
The Crux Circuit (Advanced)
When you’re ready to mimic the difficulty and complexity of a hard redpoint attempt, this route delivers. It’s not about height; it’s about puzzle-solving under physical stress.
Use mixed terrain for this one—a vertical start, an overhanging crux, and a technical finish on a slab or arete. Place holds to create awkward body positions early on, such as side pulls with poor feet or forced back steps. About halfway through, introduce the crux—a sloper paired with a bad foot and a forced movement like a heel hook or a high step into a drop knee.
Aim for 12 to 15 moves in total. The route should require rest management, precise sequencing, and problem-solving under fatigue. Climbers attempting this should feel like they’re on a legitimate 5.12 gym route, not a modified warm-up.
Limit Pusher (Expert)
For climbers ready to push their limits, this route tests endurance, creativity, and mental grit. It’s designed to feel like a continuous challenge, combining strength and technique over an extended sequence.
Choose a steep overhang or roof section where holds demand maximum control and body tension. Space handholds 18 to 24 inches apart to force long reaches and dynamic moves. Include a mix of tiny crimps, pinches, and slopers that require precise finger strength and open-handed grip.
Footholds should be scarce and small, encouraging careful foot placement and balance. Incorporate sequences that require advanced techniques, such as gastons, heel-toe cams, and dynamic crossovers. Climbers should anticipate and plan for rest points between difficult moves, managing pump while staying focused and maintaining their composure.
How To Adjust Difficulty
Once your route is dialed in, small tweaks can breathe new life into your setup. Shifting handholds just 2 to 4 inches higher or wider can quickly change the span and intensity of a move. Even a slight change in distance forces climbers to rework their beta.
Rotating holds is another subtle but effective way to alter grip angles. Turn a jug sideways to make it a pinch, or tilt a crimp to test wrist and finger strength. You can also remove one foothold every 3 feet to increase the precision and core control required.
To keep things challenging without overwhelming, refresh your routes every four to six weeks to avoid falling into autopilot climbing.
How To Store Old Holds
When it’s time to mix things up, proper hold storage ensures everything stays in good shape. Start by removing each hold using a drill with a hex bit attachment. After they’re off the wall, give each hold a wipe with a damp cloth—skip the soap to preserve texture.
Sort your holds by type or size into labeled bins or mesh bags that allow airflow. Store everything in a dry, cool place like a garage cabinet or gear closet. Avoid leaving them outside or in humid spaces, where heat and moisture can wear down the material over time.
Start With Holds That Last
Now that you know how to set up the perfect climbing route at home, it’s worth considering the materials behind your gear. Durable holds make all the difference when it comes to performance and long-term use.
Atomik Climbing Holds offers products made from polyurethane resin—a completely inert and non-toxic material that works well indoors or out. Every hold is manufactured in the United States using raw materials also sourced from within the country. When your wall’s ready for its next challenge, you’ll want gear that keeps up. Shop Atomik Climbing Holds today.


Leave your comment