
Climbing indoors offers the perfect setting to refine skills, test limits, and work through plateaus, but only if the training is intentional. That’s where drills come in. The right indoor drills can sharpen foot placement, build lock-off strength, improve body tension, and refine route reading, all while keeping training fresh and focused.
You’ve already got the foundation, so reinforce it with the top indoor climbing drills for intermediate climbers.
Silent Feet Drill
One of the most underrated skills in climbing is controlled footwork. The Silent Feet Drill helps climbers tune in to lower-body precision, teaching them to trust placements and move more efficiently.
Set this drill up on vertical or slightly overhanging terrain. Use small footholds, edges, and smear opportunities. As you climb, aim to place your feet with zero sound—no scuffing, no bouncing, no shuffling. Each foot should land once and stick.
Climb a 10- to 15-move route this way, then repeat it three times total. The focus is awareness, not speed. You’ll be surprised how much harder the route feels and how much better your footwork gets.
Lock-Off Ladders
The Lock-Off Ladders drill targets lock-off strength and upper-body control—two essentials for tackling harder sequences and making static moves when dynamic ones won’t cut it.
Employ a 10–15 degree overhang and place either jugs or large crimps in a ladder-like progression. While transitioning from one hold to another, pause in a lock-off position at each grip for a full 3 seconds before advancing. Keep your elbow bent at about 90 degrees, sustaining control and body tension.
Complete 2 to 3 laps with 2 minutes of rest between rounds. To increase difficulty, reduce hold size or extend your lock-off pause to 5 seconds.
Downclimb Every Route
If you're always jumping or dropping off after climbing a route, you're missing half the training opportunity. Downclimbing challenges your route memory, requires full-body control, and helps develop endurance and focus in the face of fatigue.
Pick four routes you've already sent, ideally in the V2–V4 range. After topping out or clipping the last hold, downclimb the route in reverse, placing each hand and foot with control. Descending slowly forces your core and legs to work harder while reinforcing the sequence in your head.
Take a 1–2 minute break at the bottom, then move on to the next route. This drill is a humbling addition that pays off quickly.
Foot Follow Drill
Foot Follow drills strengthen coordination between hands and feet, improving efficiency on routes where mirrored technique makes movement smoother and more intentional.
Set a symmetrical route using rock climbing jugs for the hands—think two identical lines of holds spaced evenly across the wall. As you climb, each time you move a hand, match it with a corresponding foot on the same side. Right hand up? Right foot follows.
Focus on balance and minimizing unnecessary steps. Climb slowly to emphasize coordination over speed, and repeat the route three times to dial it in.
Limit Bouldering
Limit bouldering helps intermediate climbers push past comfort zones and tap into short-burst power while working through technical obstacles.
Choose or set a boulder problem that’s just above your current send level—usually around V3 to V5. Following a good warm-up, work the problem in intervals: 3 to 4 minutes of focused effort followed by 5 minutes of complete rest.
Attempt no more than four total goes per problem. The goal of limit bouldering is to bring 100 percent effort to every attempt without draining your energy reserves too quickly.
One-Touch Drill
Climbers often waste time and energy second-guessing hand or foot placements mid-route. The One-Touch Drill forces commitment and sharpens visual planning before leaving the ground.
Prepare a moderate problem—V2 to V4 tends to work best for this drill. Once you touch a hold with either hand or foot, you must commit to using it. No adjustments, no quick changes, and no resets.
This simple rule trains confidence and decision-making, especially when the route becomes awkward. Try three routes using this method per session to stay mentally sharp.
Timed Route Reads
Reading a route before you climb it is a skill that can reduce mid-route hesitations or wasted movements.
Set a new route with 10 to 15 holds. Before touching the wall, give yourself exactly 30 seconds to visually inspect the route and mentally plan your beta. Then climb it without additional planning.
Timed route reads mimic onsite conditions and train your ability to spot cruxes and sequences under pressure. Complete three rounds, tracking how many clean moves you complete each time. Adjust your visualization strategy based on what you missed.
Add-On Drill (Partner or Solo)
Adaptability is a skill many climbers overlook, mainly when training solo. The Add-On Drill keeps your mind engaged and challenges you to adapt on the fly, whether you’re climbing with a partner or alone.
In the partner version, one climber performs a single move. The next climber repeats that move and adds one. Continue trading turns, building the route one hold at a time until someone falls.
For solo climbers, set the first two moves, complete them, then add one new move after each successful lap. Keep going until failure or noticeable fatigue.
Add-on drills are perfect for home walls or training facilities, offering route-setting flexibility.
Dead Hang Intervals
Dead hangs build grip endurance and improve your ability to recover while under strain. But to be effective, they need structure, not just max effort hangs until your fingers give out.
Choose a hangboard edge or jug that suits your current level. Hang for 7 seconds, rest for 3 seconds, and repeat this cycle 10 times. Rest for 2 minutes between sets, and complete 3 total sets per session. Rotate through different grip types (half crimp on Mondays, open hand on Wednesdays, for example) to develop rounded strength without overloading one grip style.
If done right, dead hangs not only develop stronger fingers but also smarter recovery, too.
Muscles Adapt—Change It Up
The body adapts faster than most climbers think. After 4 to 6 weeks of working the same drill, same holds, or same movement patterns, your progress will slow, and eventually stall.
To stay on an upward curve, change at least one variable every month: wall angle, hold shape, route length, or even your training goal. If you’ve been using power-based drills, pivot to footwork. If you’ve lived on vertical terrain, try a steeper wall. The key is rotation.
What You Train With Matters
You’ve now explored some of the top indoor climbing drills for intermediate climbers, and chances are, your gear has been just as involved as your technique. From the holds beneath your hands to the wall you’re pulling on, what you train with matters.
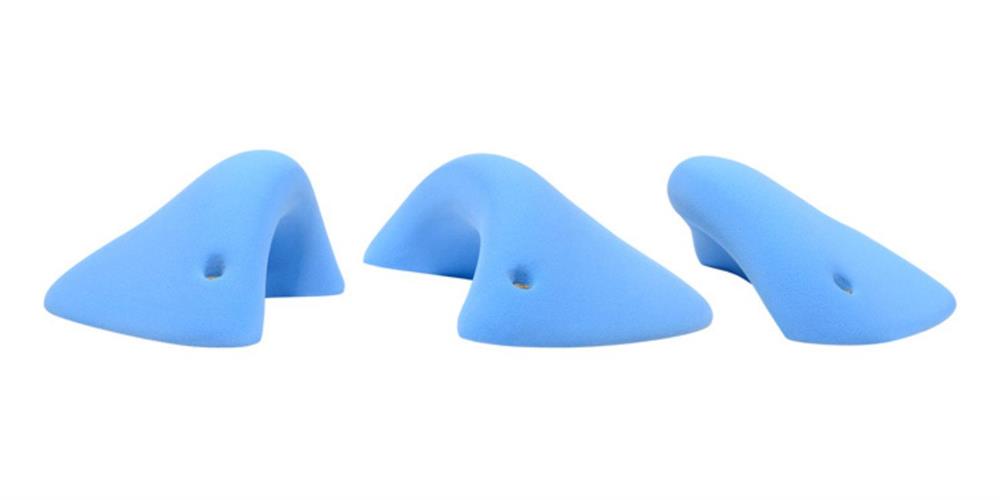
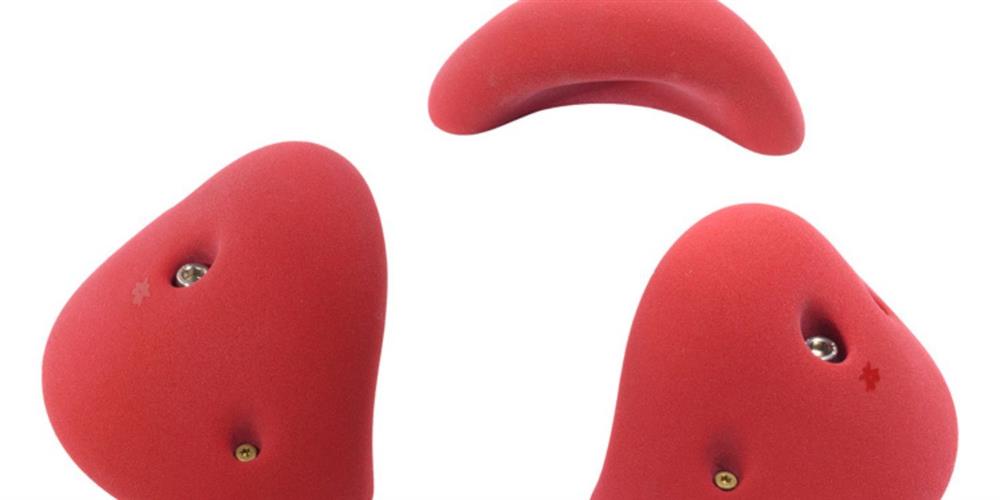
Atomik Climbing Holds manufactures all of its products in the United States using raw materials sourced exclusively from within the U.S. Our holds are made from polyurethane resin that’s inert, non-toxic, and built to last indoors or out. Our company is employee-run, and our team includes climbers who understand the demands of real training.
When you trust your grip, you’re trusting what it's made of, and with Atomik, that trust is earned.
Leave your comment